The scary difference between making MP soap and CP soap is that you have to handle lye. Lye is 100% sodium hydroxide and is poisonous. You cannot let it touch your skin because it will burn your skin. You must wear goggles, gloves and a long-sleeved shirt when making CP soap. I don't care how hot it is out or how experienced a soaper you are. Accidents happen. I have read that if you splash lye on your skin, pour vinegar over it. I hope I never have to find out if this works. My instinct would be to run it under water to dilute the chemical and call the poison emergency line at 1-800-222-1222.
So are your glasses on now? Okay let's get on with making soap!
Here's a list of materials you will need:
Quick access to a sink
A large plastic container/bowl or stainless steel to mix your soap "batter" in
Two candy thermometers
Silicone or stainless spatula/spoon for stirring and scraping
Digital food scale that measures ounces
Several glass or heat-resistant plastic bowls/beakers
Bowl of ice water
Stick blender (thank God for stick blenders!)
Goggles
Protective gloves
Long-sleeved shirt
100% Lye
Distilled water
Oils of your choice
Fragrance (I use essential oils)
Coloring, if desired (NOT food coloring)
Soap mold (wooden mold, silicone mold or heat-resistant plastic container in a pleasing
shape)
Parchment paper
Tape
You will need some fatty acids. The term "fatty acid" sounds harsh doesn't it? It's not. Fatty acids are the oils you choose to make your soap. I use vegetable shortening, olive oil, canola oil and coconut oil. If I could find different ones locally I'd try using castor oil, palm oil, sweet almond oil, etc. But I'm very new to soaping and I don't want to pay to ship oil that might result in a failed batch. Let's get a few batches of soap under our belt and then we can branch out and experiment with other fatty acids.
You will need 100% lye (100% sodium hydroxide). I found mine at a local True Value Hardware store. It's not easy to find, and word on the street is drug dealers use it to make methamphetamine. Many stores have pulled it from the shelves for that reason. I suggest calling around before you travel to purchase your lye. I went to 5 stores before finding it.
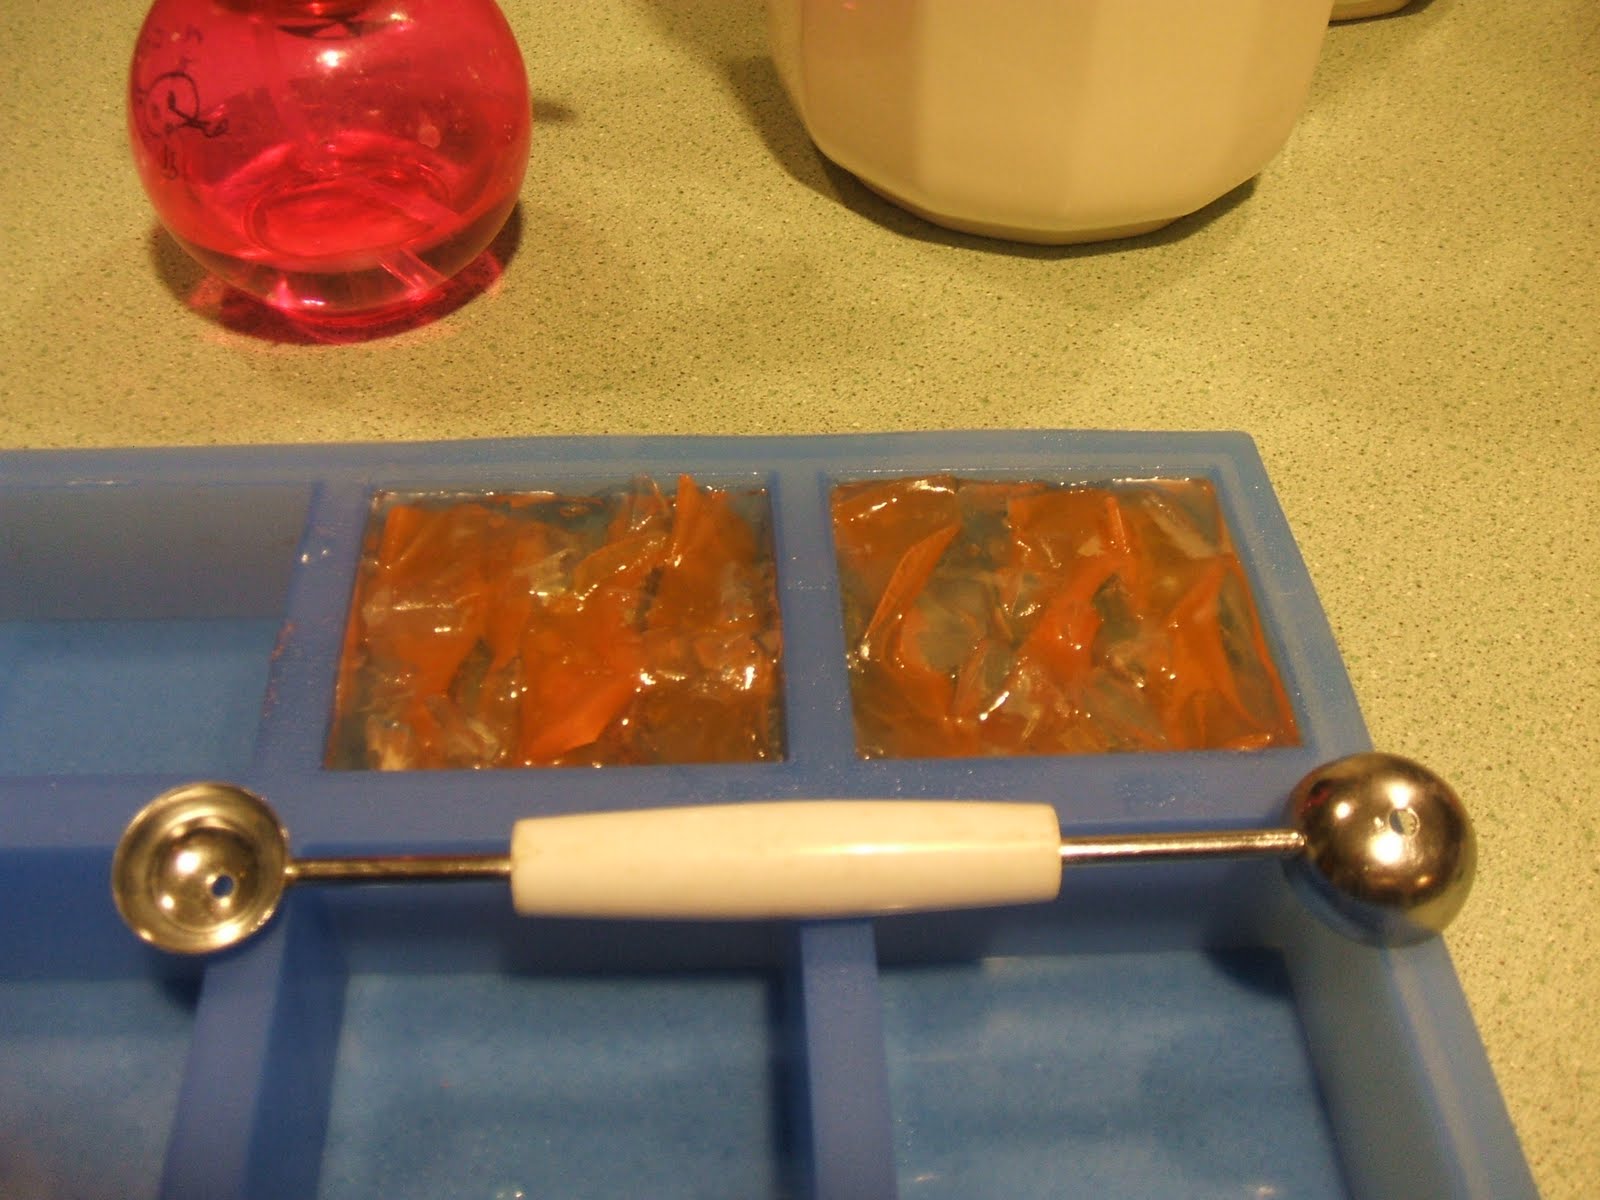
Line your mold with parchment paper if using a wooden mold. I found this little cheese crate at a yard sale yesterday for $2.00! The hardest part of lining my mold was getting the masking tape to stick to the parchment paper. If you have a better idea, please let me know!
Do you see my hoosier cabinet in the background? I just organized it so my soaping supplies are all in one area. I love the slide-out work surface. You can find these for short money in antique stores. I found this one many years ago in Essex, MA.
Back to the soap...
The amount of lye, water/liquid and fatty acid/oils you need to make a batch of soap depends on your recipe. You may follow recipes listed online if you have the ingredients or you can follow along with mine. The amount and type of each oil you choose dictates how much lye and water you must use. There are many lye calculators on the web to help you determine how much to use. I use
Brambleberry's Lye Calculator for Soapmakers. It's simple and straightforward.
Here are my ingredients - your recipe might be different, but I made this one up myself to see what happens:
Vegetable shortening (Crisco) - 10 oz.
Olive Oil (any brand) -4 oz.
Canola Oil - 2 oz.
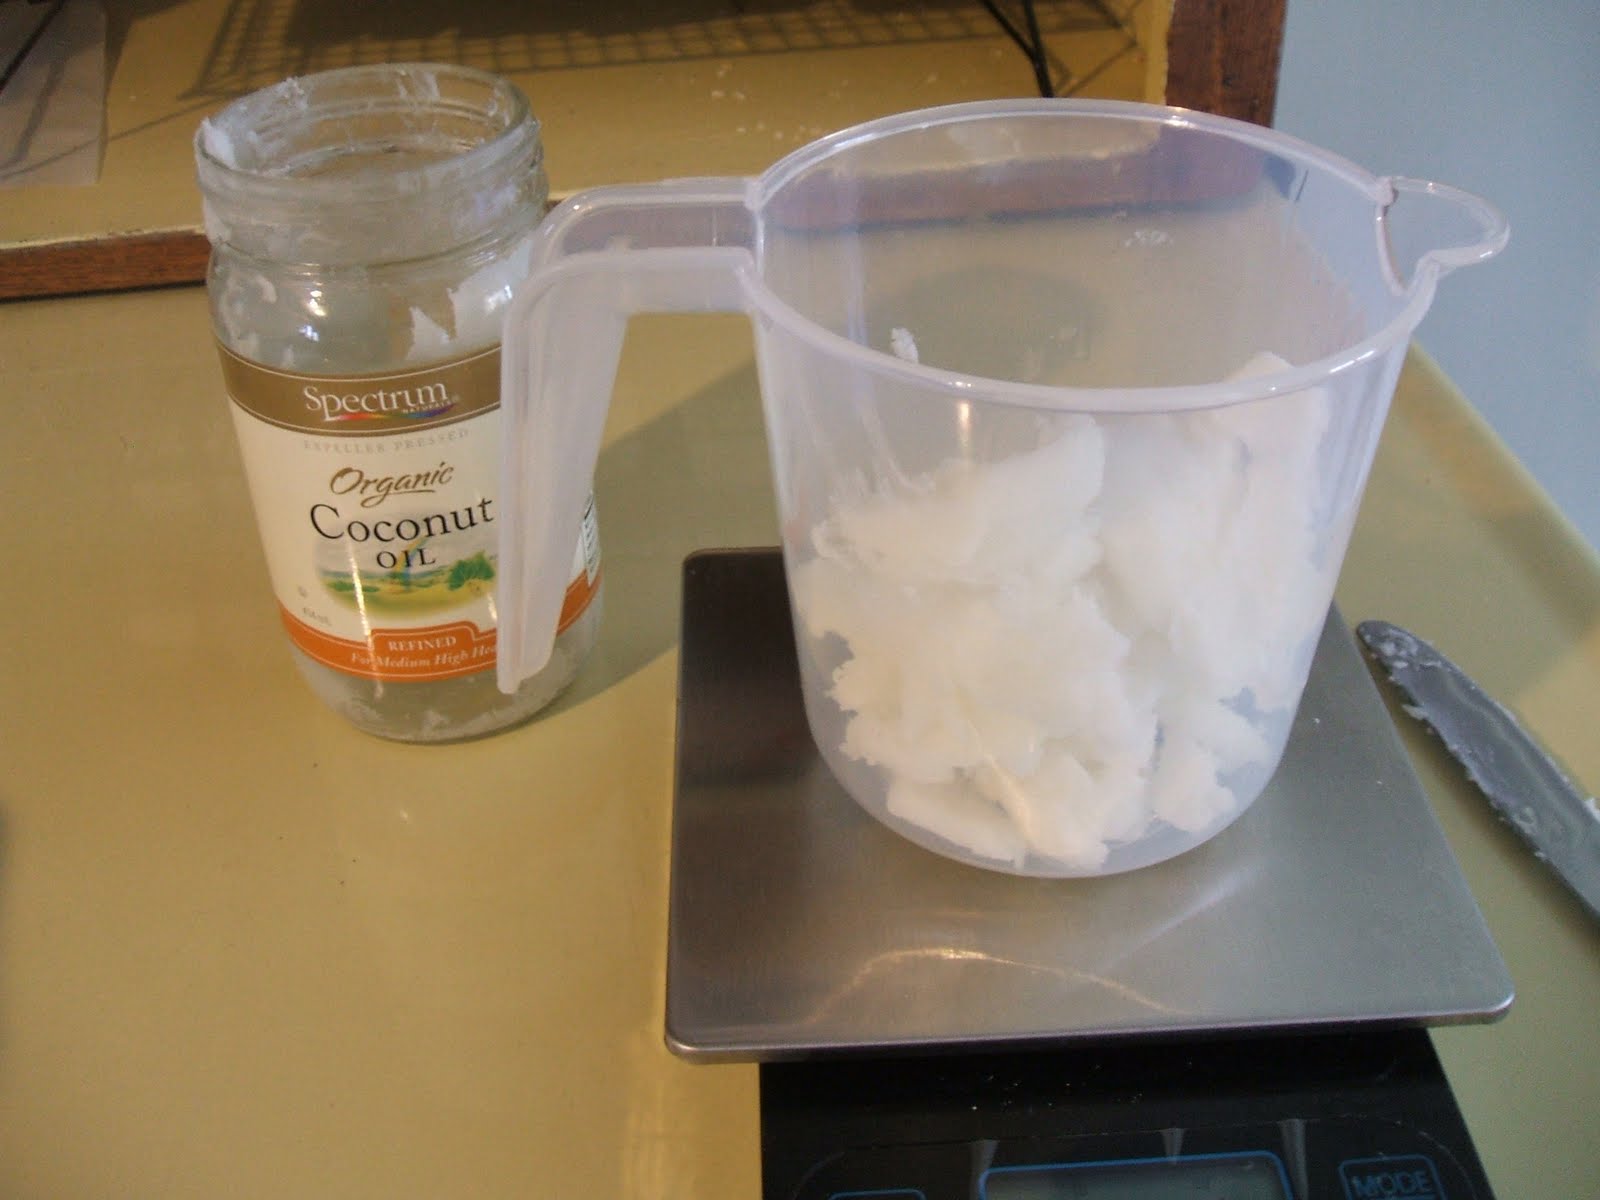
Coconut Oil - 4 oz.
According to the lye calculator we will need 2.70 oz. of lye and 6.60 oz. of distilled water to mix it into. Use distilled water so you know it's pure and there won't be any surprises when you mix your lye into it. Also, remember to always stir your lye into the water and not the other way around. DO NOT substitute different oils during the soap process. The lye/fatty acid ratio is calculated specifically for this recipe. If you want to use a different oil, you must recalculate using the lye calculator before starting your recipe.
Measure your distilled water on the scale. Set it aside.

Measure your lye in a separate container on the scale.

Carefully pour the lye into the water (never the other way around!) and stir as you pour. Stir until all the crystals have dissolved. It will still look cloudy for a bit. The water will get extremely hot once the lye goes into it. Be careful not to inhale this or breathe the vapor. Do this part near an open window or well-ventilated area. Some people do it with the oven fan on. I do it right in my kitchen sink with the window open. I place the beaker of water and lye into a bowl of ice water and cool it until it reaches about 90 - 100 degrees. You will notice the solution looks clearer now.
While your lye solution is set aside and cooling, measure your fatty acids - your oils. If the oil is solid like coconut oil or shortening, melt and soften it quick in the microwave, but don't make it too hot. You are shooting for the combined oils to be between 90 and 100 degrees, just like the lye solution.
Here I am slowly pouring the melted shortening and coconut oil into my canola and olive oils. Gently stir together.
Check your lye solution. Is it cool enough yet?
If it is, then it's time to combine it into your oils and stir together. This is when the lye and oil molecules combine to make soap! Saponification begins!
Now your stick blender comes into play. Pulse in 5 or 10 second spurts, stopping to stir intermittently with the stick until you reach "trace". Trace is when the mixture has thickened enough to leave a trail of batter when you drag the blender across the top of the mixture. The photo below is when I was just starting to mix. No trace yet.
It's getting a little thicker, and the color is more of a creamy cloudy consistency. No trace yet...
A couple of minutes later it's really looking like pudding but no trace...
A couple spurts later and voila! Trace! See the difference?
Now it's time to add your fragrance and color. Sorry I didn't get photos of this process but my gloves were slippery and I couldn't get the essential oil (Ylang Ylang) open, let alone snap a photo. I was trying to work quickly and the liquid color wouldn't drip out of the bottle. So I had to drop everything and look for a pin to poke through the opening. Geesh! Note to self: measure the essential oil/ fragrance and soap colorant beforehand and have it ready to go!
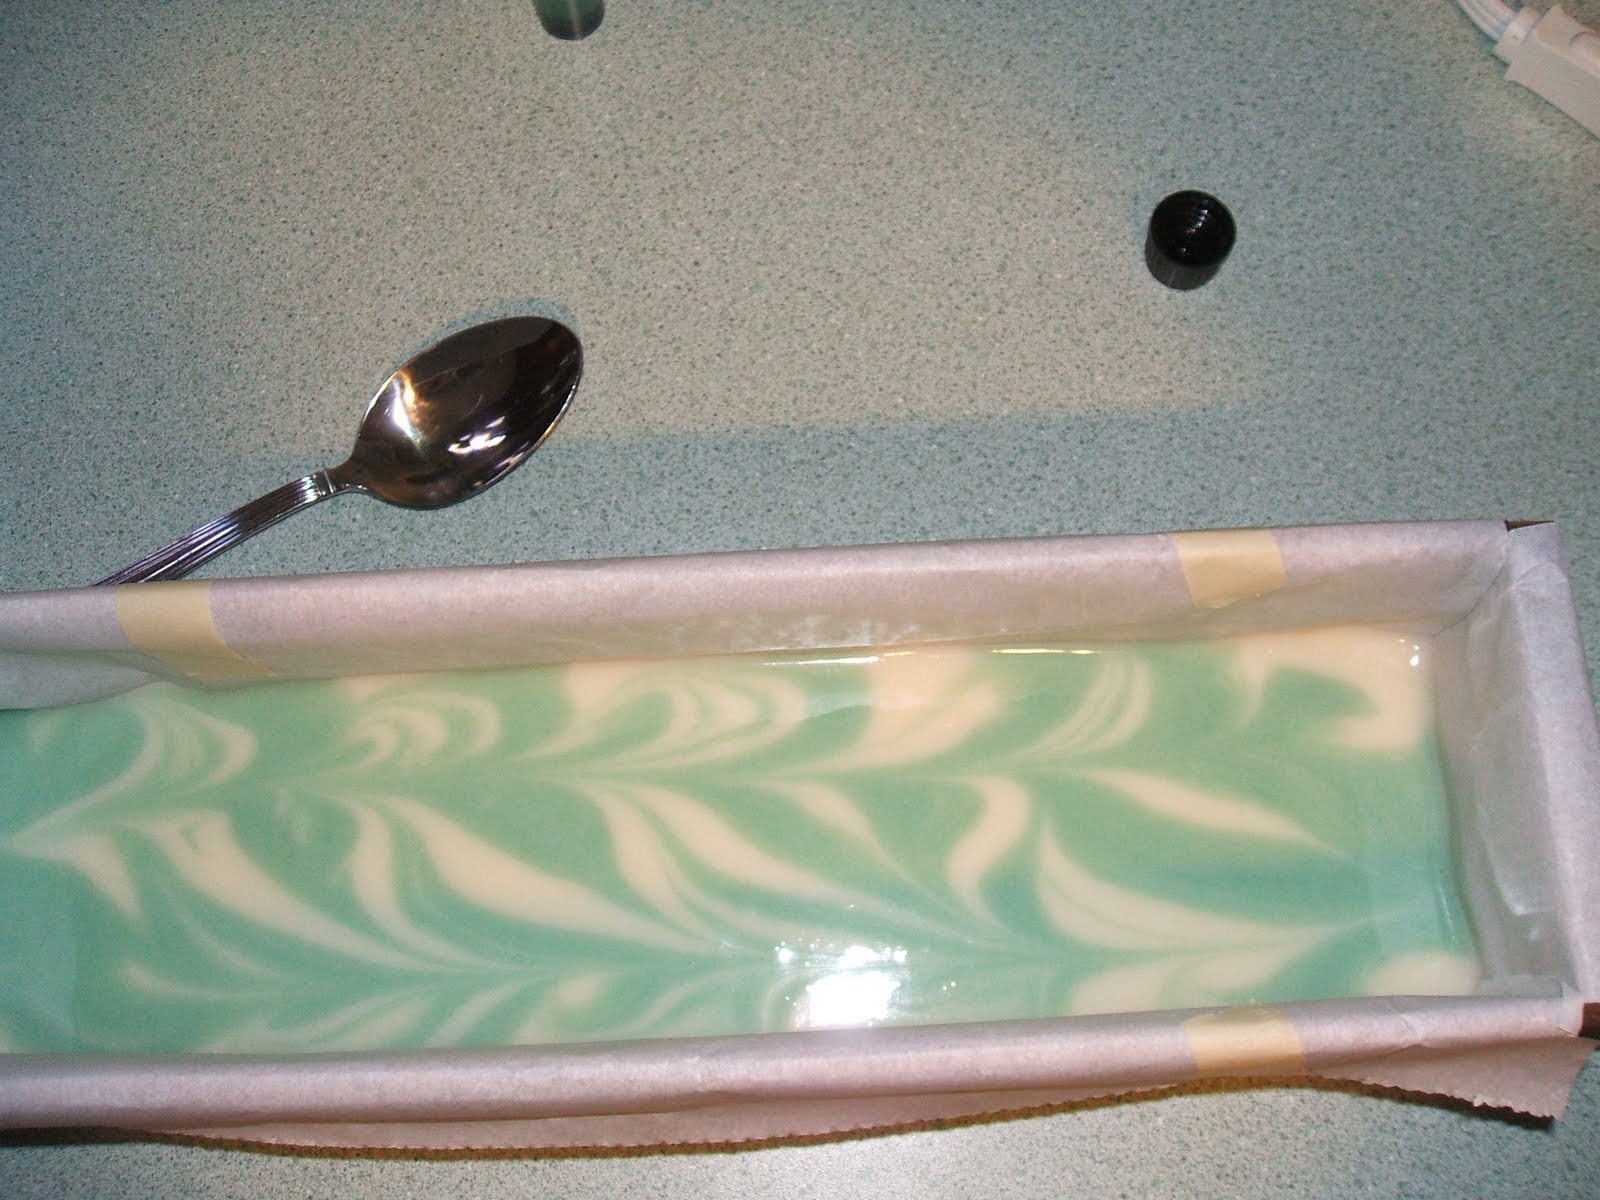
Anyway...I poured about a cup of the soap batter into a separate container and squirted a few drops of turquoise color into it. I scented the natural-colored batter with about 1.5 tablespoons of Ylang Ylang essential oil and poured it into my soap mold. Then I poured two rows lengthwise of the turquoise colored batter. Then I just dragged my spoon up and down and back and forth until I was happy with the design on top.
I PROMISE you I will make a video of what I missed in photos to show you how I got this lovely top.
I popped this right into my refrigerator until tomorrow. This way, the soap will not "gel" and will keep its creamy appearance. This is a small batch of soap, so we can easily skip the gel phase. Once I remove it from the mold and cut it in a couple of days, I will then place it on a rack in my hoosier to cure for several weeks. This soap cannot be used for at least 5 or 6 weeks, because it needs to harden. As it hardens, the moisture evaporates and it becomes a milder bar of soap.
I will cover gelling in another post, and we will make a larger batch of soap and see it through the gel stage.
I will update you as I learn more, and show some examples of my progress. I'd love to see what you come up with too. Thanks for following me!


