Search This Blog

Thursday, July 28, 2011

"Have I Lost My Marbles? No, I Fried Them!" Soap


This is a Fullamoon original I dreamt up in honor of Tamra of DelightfulU who nominated me for the Versatile Blogger Award. I figured I'd better come up with something original and fabulous to live up to this award.

Ladies and gentleman (that's you, Kevin, I think you're the only gentleman who follows me) I give you (drum roll)...Fried Marble Soap!

Okay now first let me explain I've never actually fried marbles myself, but I do recall hearing that jewelers make crackled marbles by frying them in a pan and then dumping them into freezing cold water, which crackles the marbles from the inside out. Here's a photo I found of the real McCoy:


From these beautiful fried marbles, you can make earrings, slides and bangles by bending wire cages around the marbles.  Now here is my melt and pour soapy interpretation:


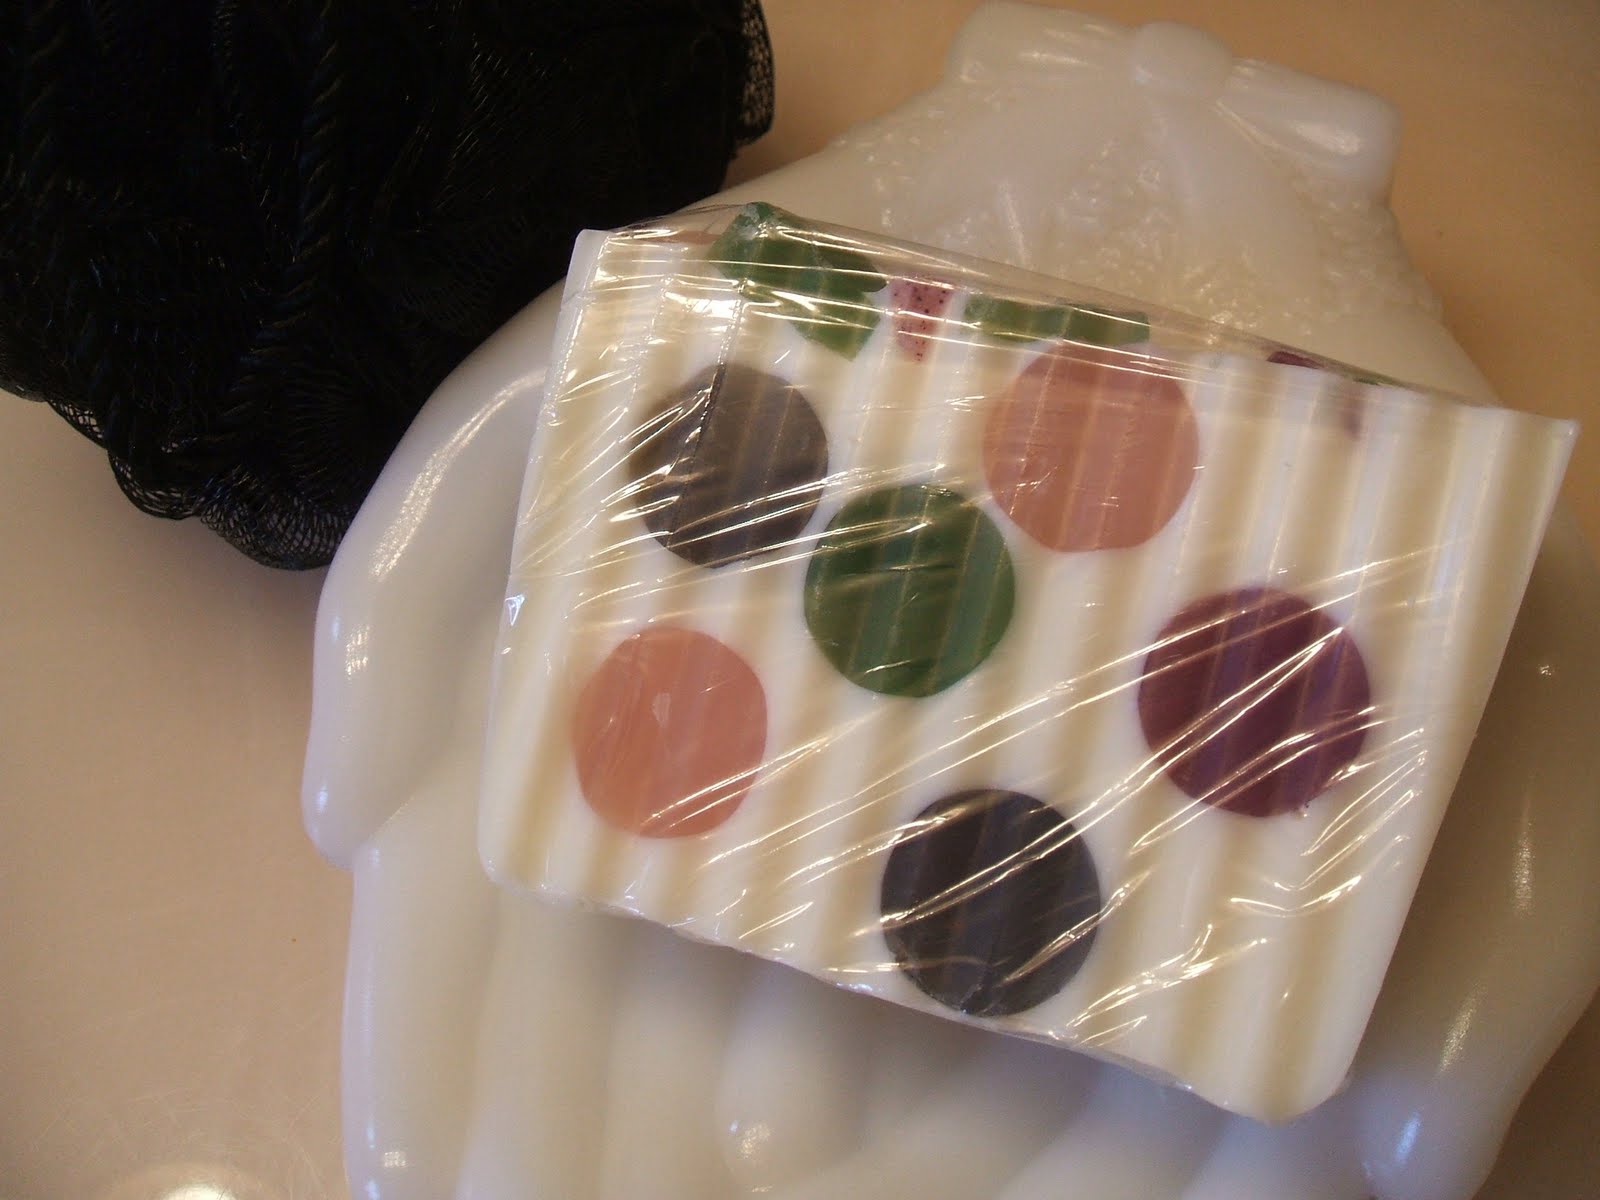
And here they are embedded in a solid color bar:


Like gemstone soaps, these were quite time consuming but worth it. I documented each stage so I can post a tutorial. I am delighted to share this with you! 


For this project I used Bramble Berry's:

White Ginger Tea fragrance
Copper Sparkle Mica
Liquid Orange color
Clear soap base
Goats milk white soap base

12-bar soap mold from Bramble Berry
Melon baller
Spritzer with rubbing alcohol
Knife
Glass container to melt soap base in microwave


Here are blocks of opaque orange, copper sparkle mica and clear. 

To make the ribbons, slicc the copper and orange into thin strips.

Give each strip a twist and set aside. This will form the "glass" ribbon inside the marbles.

 Chop up the clear block this way and that. These small cubes will form the cracks inside the marbles that give them a crackle appearance. See where I'm going with this?

I like marbles with more than one color inside them so I also made orange ribbons to complement the copper. I could have used solid white or some other color as well.


I layered the embeds in the following order - clear chunks, mica ribbon, orange ribbon, then clear chunks again. This ensures that the ribbons will appear in the center of your marbles.  Spritz with alcohol and then pour melted clear with the fragrance in it to fill the rest of the mold.


Get your melon baller ready!
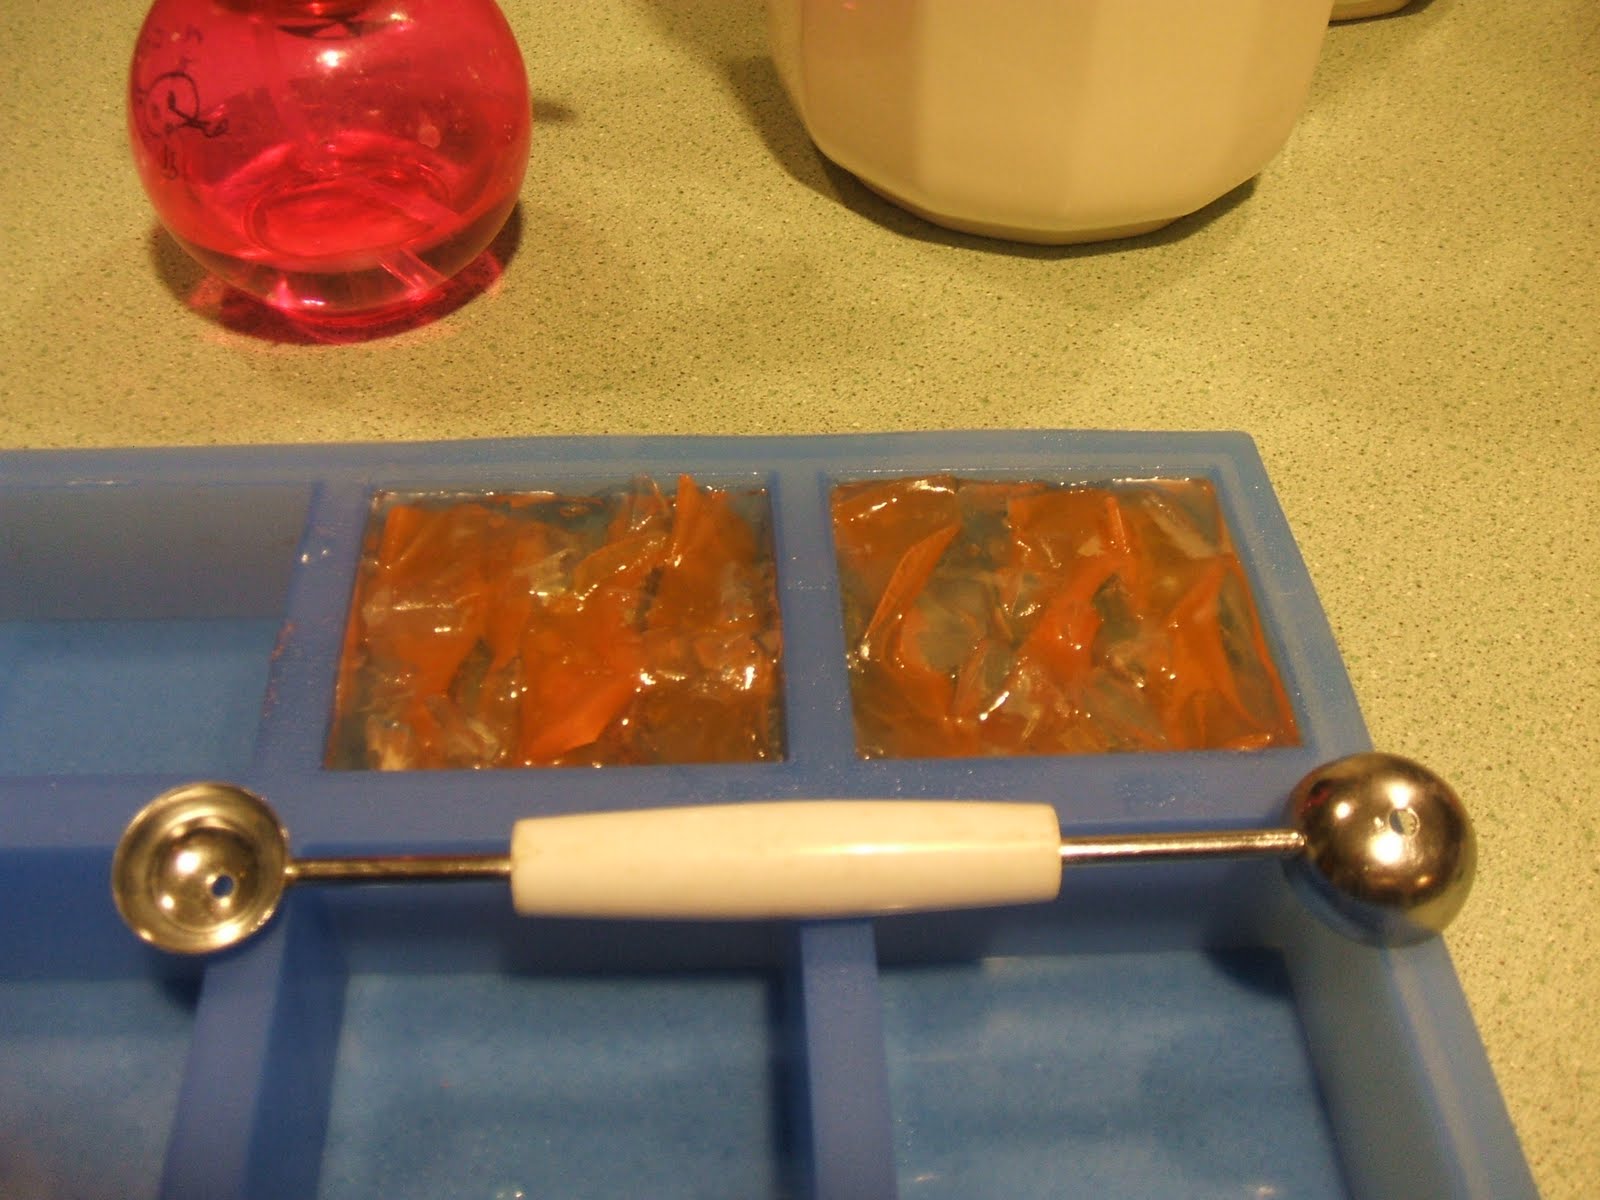
I used the larger side of the melon baller but smaller marbles would have been cool as well. I think the bigger they are the more dramatic they are. I was able to scoop out 5 marbles per square using the melon baller.  The soap was a little soft, so I could really dig deep and get a full sphere.

I plopped them into colored soap and as I use the bar the marbles will appear from within. Of course once I unmolded the soap I wondered why I didn't just use clear to fill the bar. Oh well. Next time.

So there you have it. Soap marbles. Pretty cool, eh? I think next time I will skip the crackle part, use two colors for the ribbons and sink them in clear soap base.


  Thank you for looking!

Wednesday, July 27, 2011

Versatile Blogger Award


I am delighted to announce that I was nominated for a very special award, The Versatile Blogger Award! It's an award from bloggers to fellow bloggers. Thank you so much Tamra of DelightfulU, a handmade boutique of soaps, bath soaks, scrubs and jewelry. Please do check out her site - it's chock full of neat projects like crochet, the coolest quilts, adorable costumes and, of course, SOAP!

Recipients of The Versatile Blogger Award are requested to:

1 – Make a post and link it back to the person who gave you the award (and include their website address).
2 – Share 7 random things about yourself.
3 – Award 7 recently discovered bloggers with this award and contact them to let them know they have won.


How fun is that! Here are seven random facts about myself:

1. I like to play the keyboard. Although I think I'm pretty good, I absolutely cannot play in front of people other than my two boys and my husband. But I also like to make soap, and I share that with anyone who shows any interest what-so-ever. I give it away, I explain how I made it, I e-mail pictures, I post pics on Facebook, etc. I think the gemstones are my favorites so far, but I am working on a special soap in honor of my nominator, Tamra, who is very crafty and might like something that looks like glass, and that's the only clue I'll give. Stay tuned...

2. I'm in an arranged marriage. Well, not really. But our moms did introduce us! And we've been happily married for 21 years. I am C-R-A-Z-Y about my husband!

3. I live very close to the beach, but I hate going there. Yes, I really do. I get sticky, sandy, windblown, chewed by sand fleas and the water is freezing! The only condition I will agree to go is if it's after supper so I don't get sunburned, the tide is low so the seashells are visible and there is at least one tide pool to wade through. If the sun, moon and all the planets are in alignment, like maybe once a year, I'll go. But that's it.

4. I can juggle. Yes I know all moms can juggle things - work, kids, relationships - but I mean balls. Or apples. Or oranges. But not eggs. Because I'm allergic to eggs.

5. I love to decorate. It takes me a while to get it right but the whole process fires me up. I've been decorating this house for three years now. I've only made a small dent, but the process of "becoming" is fun.

6. I'm a night owl. Most of my blog entries are created between 11 PM and 2 AM. Who-o-o, who-o-o!

7. I am a Maxxonista. I love shopping for clothes and home goods at T. J. Maxx.


Without further ado, here are 7 other blogs that I think deserve this award! And the nominees are:

Lindsey of Five Healthy Hearts - Lindsey blogs about her life, her family and her crafty projects like knitting, quilting and she's even sewn dolls. Seriously, do check out her Starry night quilt. It's beautiful. Thank you for putting things into perspective for us. Life is fragile. But I still don't like the beach. lol

Cindy of Scherenschnitter - Cindy is a papercutting designer. Hers are the most sophisticated and artsy designs I have ever seen. Way cool. She has a papercutting design for every occasion. You've got to check it out.

DeShawn Marie of DeShawn Marie's Handcrafted Soap Blog - Mint Julep Handmade Soap. Need I say more?

Eliz of Tatknot -  I never knew what tatting was until I visited this site. Beautiful handmade lace projects from jewelry to bookmarks. Beaded and buttoned, they are beautiful!

Lyndsey of The Stationery Place - a California girl who loves funky handmade invitations (check out her inflatable invites!) and theme parties. This is a fun site for ideas!

Wendy of Ganksmom is about my age (well, a little younger). She has two children and is a stay-at-home mom. Wendy recently lost her mom and hasn't been blogging very much lately. I think she could use a lift to get her back into her blog. She writes as if she's talking to you. Her blog speaks to me. Say hello to her. I'm going to.

Marcel the Shell With Shoes On is not a blog, but a YouTube video. It deserves an award. It's hysterical. If you have three minutes to spare I guarantee Marcel will make you smile.

t.s. poppy of Frankly Esoteric has the most beautiful photographs of fashion, decor, nature, food. Just visit the site and you'll see what I mean.

So there you have it. Thank you again Tamra of DelightfulU, for nominating me. I was having blogger brain freeze and now I'm back into the swing of it. Have a beautiful summer.

Saturday, June 25, 2011

Cold Process and Hot Process Soap Photos

I've been busy making some soap - here are some photos!

Melt & Pour:

Melt & Pour:

Rebatched (granite rocks!):

Cold process, forced gel. I am finding that my forced gel soaps have tiny cracks in the color:

Rebatch:

Rebatch (sorry for the blurry pic!) scented with orange essential oil with a teaspoon of coffee grounds:

Poured at thick trace, cold process, partial gel (oops!):

Cold process slab swirl, ungelled:

Hot process:

Hot process:

Thursday, June 16, 2011

Creamsicle Soapsicles - Soap on a Stick Melt & Pour Project

I've been dying to make these cute soapsicles for months now.  I found a smallish size popsicle mold at Target this morning for $1.00 - perfect!

Orange color. Check. Orange essential oil. Check. Clear soap. Goats milk melt & pour. Popsicle sticks. Check. Check. Check.


They are so cute, but how on earth do you get these sweet treats out of the mold? I tried freezing for 5 minutes, then immersed in warm water. Nope. They wouldn't budge. I was afraid to pull too hard because the stick might slip out! I'm thinking maybe I should have sprayed a little oil in the molds before filling them. But I wouldn't want an oily little soap.

I finally got them out. I placed them in the freezer for about 10 minutes, then dipped in very hot water for about 30 seconds. I tugged a little more aggressively than before, and voila! They slid right out. This is a simple, fun project. I'll be making more flavors of these for sure. And @ $1.00 per 8-cavity mold, I will go back and purchase a few more. Can't beat that price!

I made these for my son to give to his teachers on his last day of school Tuesday.

Saturday, June 11, 2011

Embedding Water Soluble Paper in MP Soap - FAIL!

Just a few days ago I highlighted my beautiful melt and pour soaps made with water soluble paper. Here's what can happen in just a few short days. I believe I did everything right but look at this cloudy mess! And it appears the paper has started to bleed. It's blurry!

Why did my clear soap get so cloudy? Maybe I heated it too much? I don't know. It looked perfect just a couple days ago and now this! 

I think I will try one more time, but here's what I'm going to do:

  • Wait one full week after printing my water soluble paper to use it.
  • Mix a tad more blue color into the clear base.
  • Use a much THINNER layer of clear. 

I embedded the paper in the center of the soap hoping the image would last longer, but now I see it just makes it more difficult to view the image.

I'll let you know how it goes!

Wednesday, June 8, 2011

Melt and Pour Soap Method Using Water Soluble Paper Images!

It was just too hot today to don my CP garb (goggles, mask, gloves, long sleeves) so I made some fun melt and pour soaps!

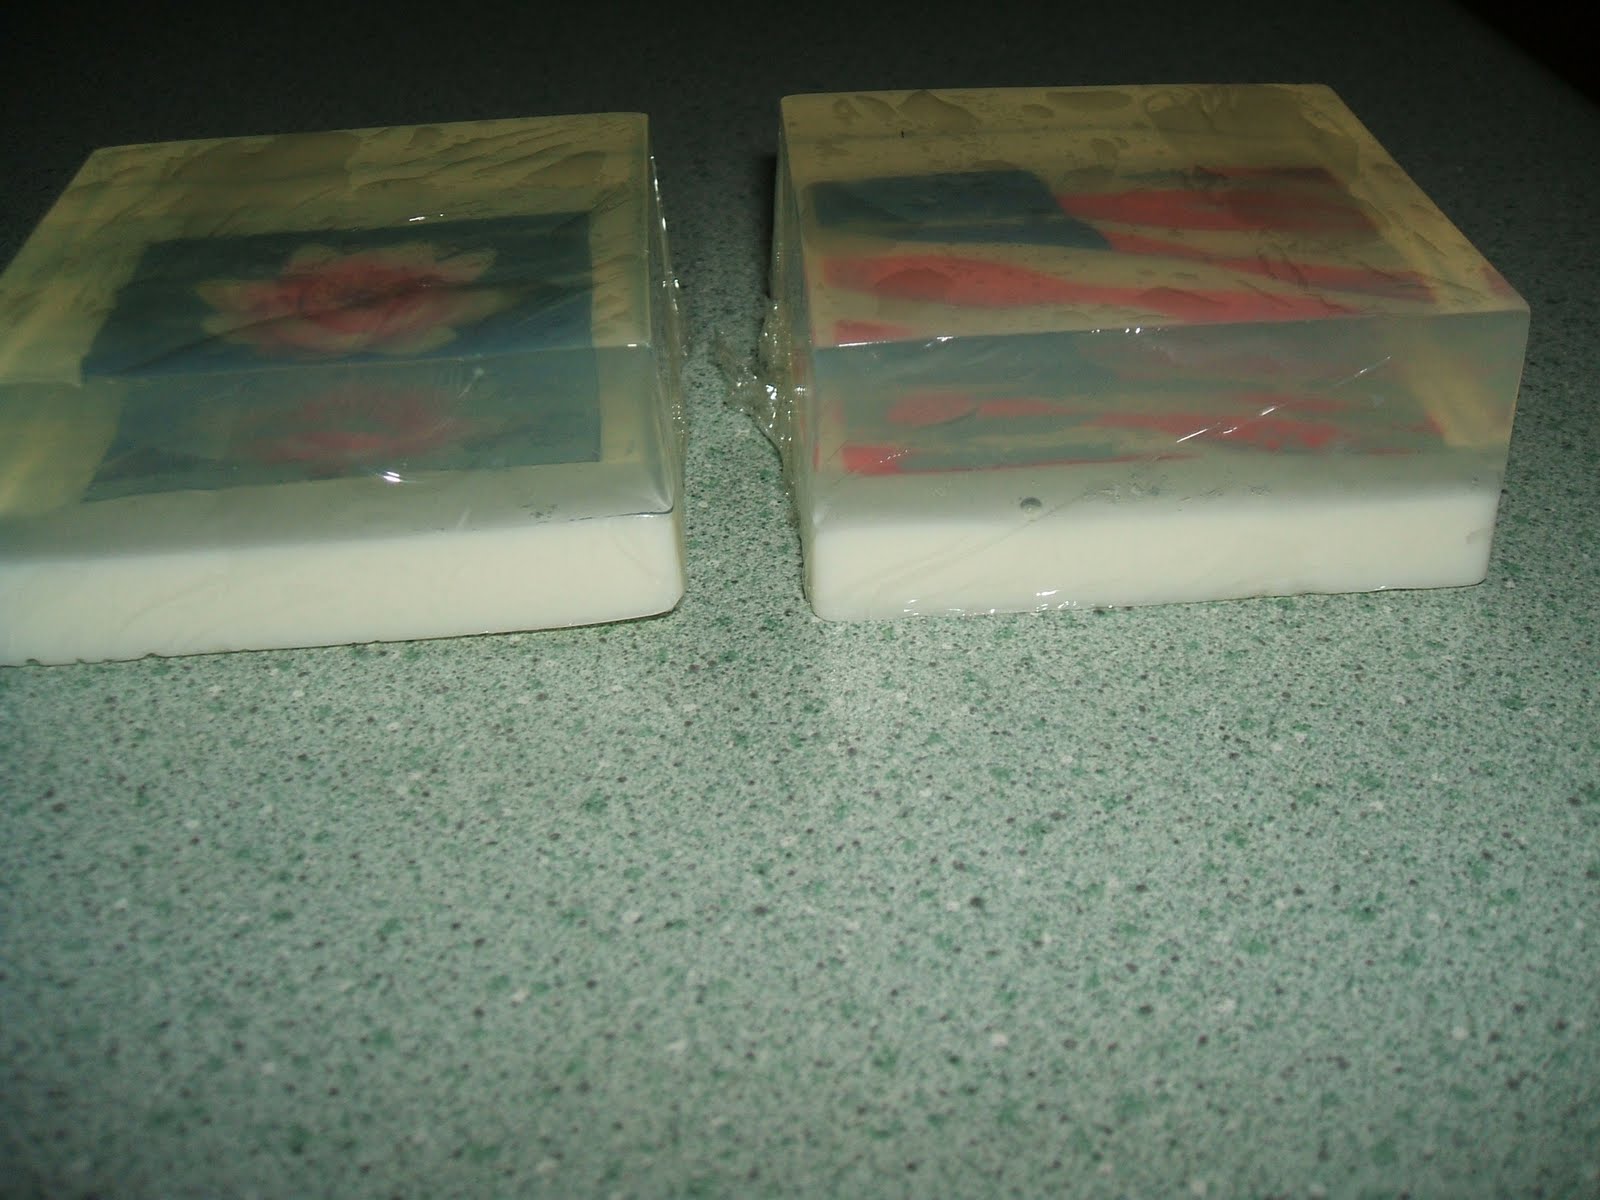
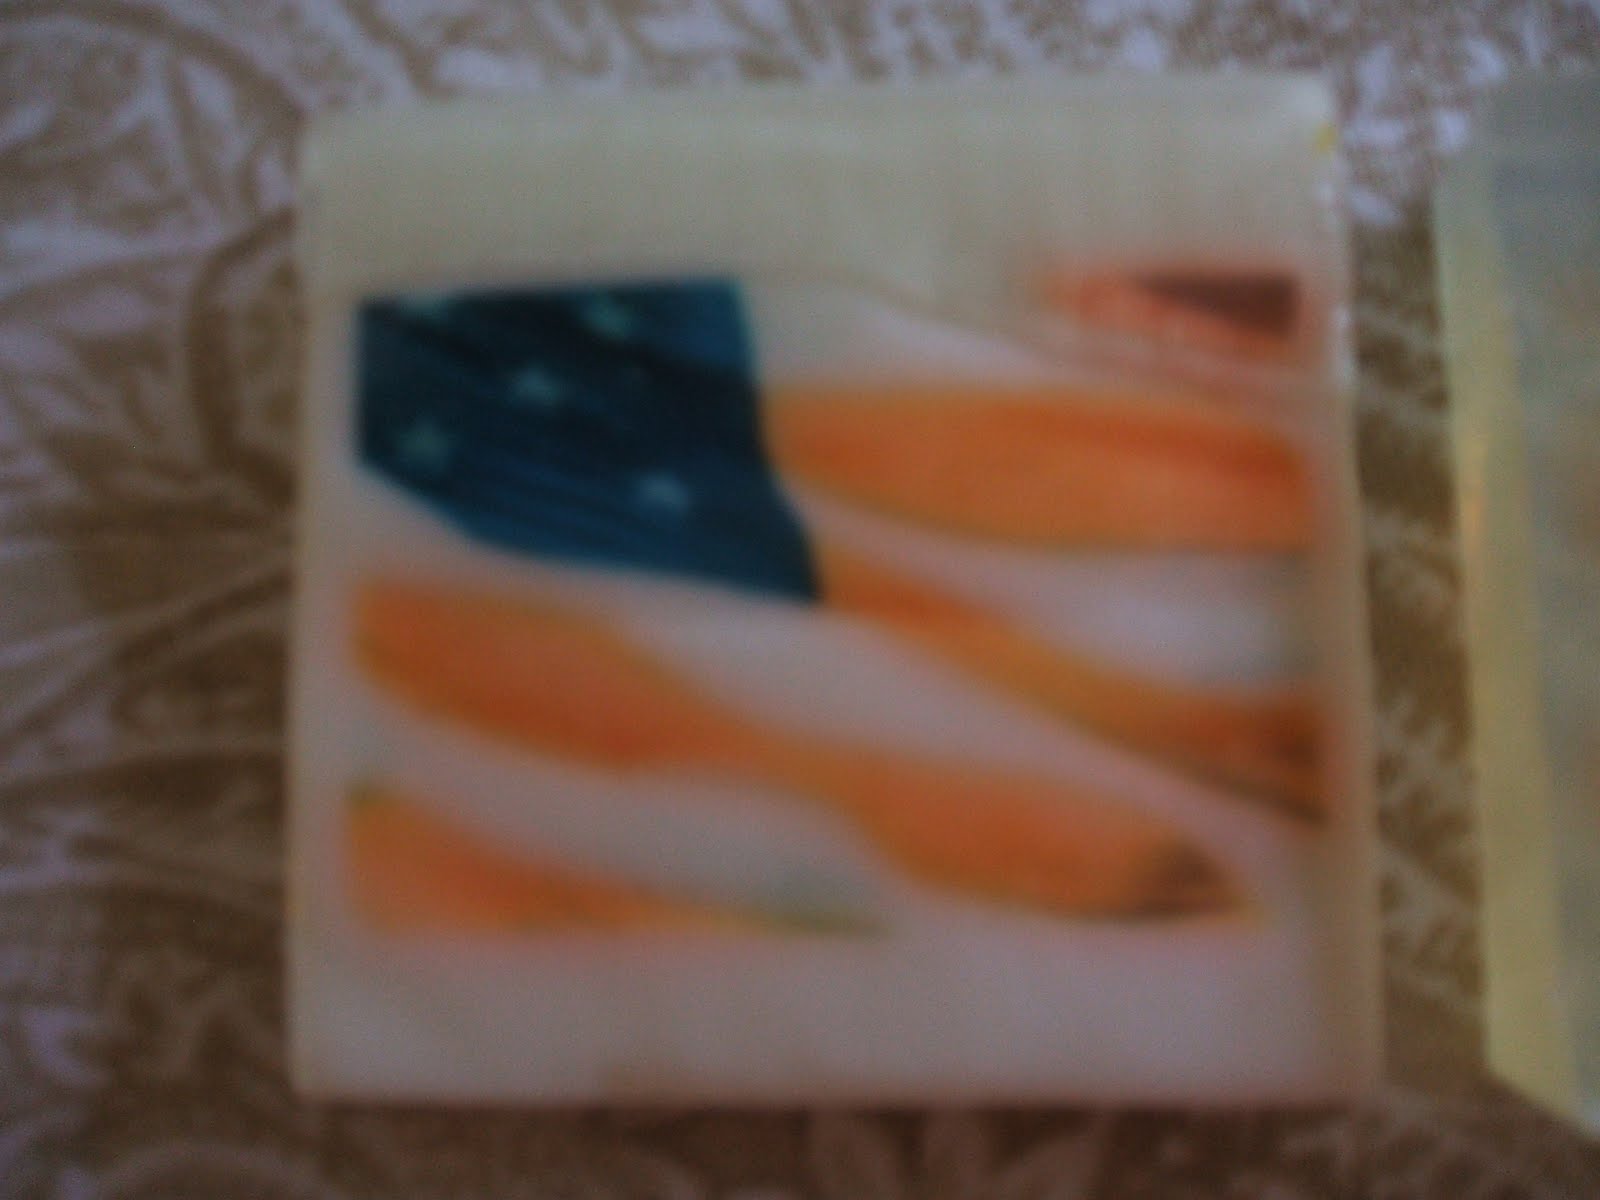
This is the first time I've used water soluble paper. I printed my images a few days ago and sprayed them very lightly with aerosol hairspray.  I added just a very small touch of blue to the clear base (this is called "bluing" so the clear layer doesn't look so yellow) and once a thin layer of skin formed, placed the picture face down.  Once that hardened, I spritzed ever-so-lightly- with alcohol so that my layers would bond but the soluble paper wouldn't dissolve. Goats milk white soap base over that layer and voila! 

(The ripples on the surface are caused by saran wrap so my soaps don't sweat in this humidity!)


How FUN are these soaps - and the sky is the limit as to what you can embed! I embedded a photo printed on water soluble paper of my brother and his wife and I am planning to sneak it onto their sink this week.

Thursday, June 2, 2011

Wonderful Daisy Flexible Mold from Bramble Berry

Here is a photo of my sweet daisies made with Bramble Berry's Daisy Flexible Mold. You can purchase this mold here.

It doesn't get any cuter!